%20250px.png)
Managing Members of an Email Distribution List
This article covers how users can manage the members of their distribution lists using Microsoft Outlook and Outlook on the Web.
Adding People to a Distribution List
- Open Microsoft Outlook and then open the Address Book.

- Locate the distribution list by typing the full or partial name of it. Then double click on the distribution list to open it.
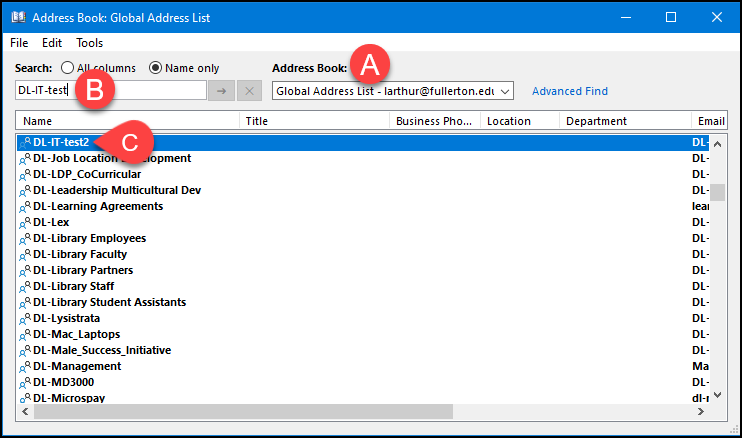
- Check that you are using the Global Address List as the Address Book instead of the Offline Global Address List.
- Type in the full or partial name of the distribution list you want to modify.
- Double click on the entry in the list to open it.
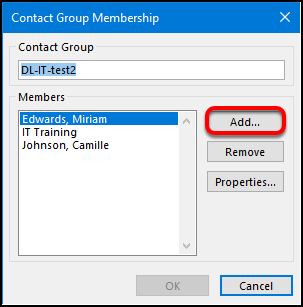
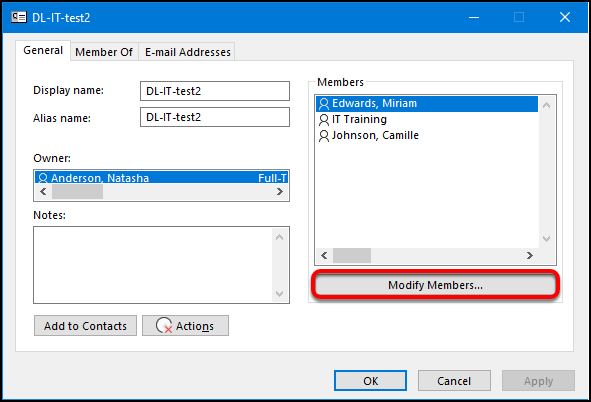
- Click Modify Members.

- To add a person to the DL, click Add.
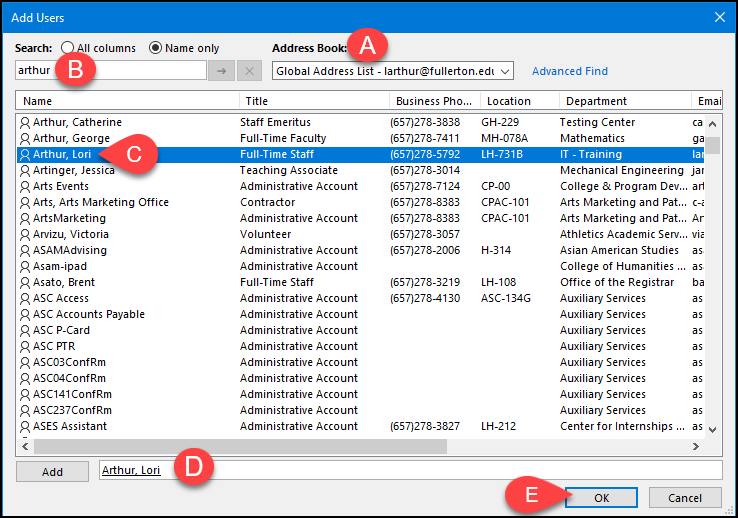
- Check that you are using the Global Address List address book.
- Type the name of the person you want to add.
- Double click on the name to add it to the Add field.
- Verify that all the people you want to add are in the Add field (Note: It is not recommended to add more than about 10 people to a distribution list at one time).
- Repeat with any additional people you want to add. Then click OK.
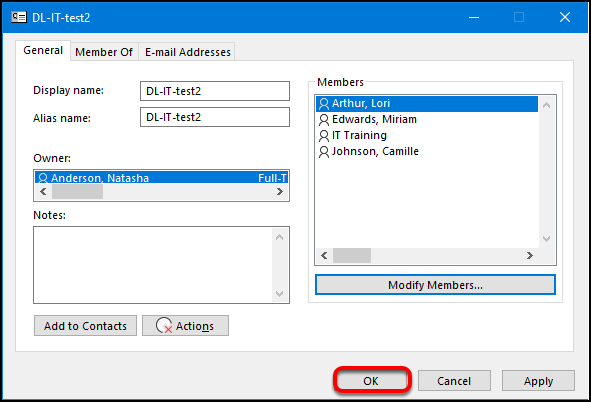
- Click OK.
 Note: This step may take a minute or two to process and Outlook may become unresponsive - this is normal so please be patient.
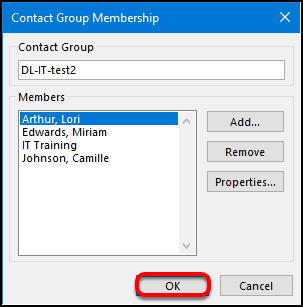
 - Click OK again to save your changes. You're done!
Removing People from a Distribution List
- Open Microsoft Outlook and then open the Address Book.

- Locate the distribution list by typing the full or partial name of it. Then double click on the distribution list to open it.

- Check that you are using the Global Address List as the Address Book instead of the Offline Global Address List.
- Type in the full or partial name of the distribution list you want to modify.
- Double click on the entry in the list to open it.
- Click Modify Members.
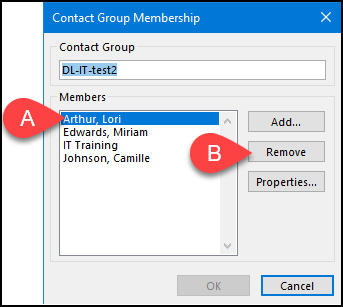
- Click on the name of the person you want to remove from the DL.
- Then click Remove.
- Then click OK.
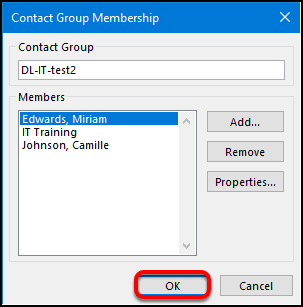 Note: This step may take a minute or two to process and Outlook may become unresponsive - this is normal so please be patient.
 - Click OK again to save your changes. You're done!
