Contact Us
- Support
- Remote Desktop Access
- Connecting to Remote Desktop Access
Connecting to Remote Desktop Access
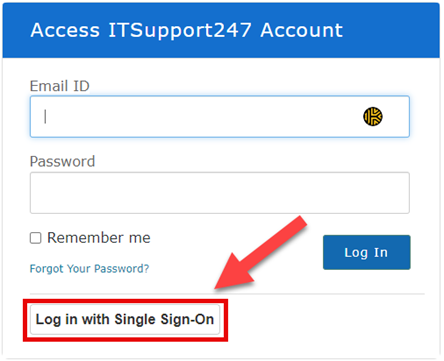
- In your web browser (Chrome or Edge), navigate to https://user.itsupport247.net.
- Click the Log in with Single Sign-On button.
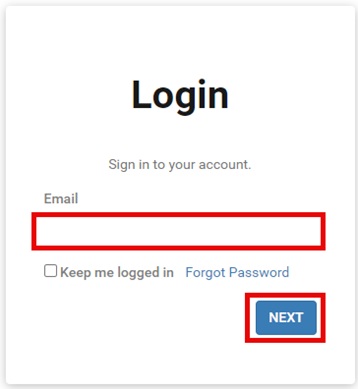
- Enter your work email address and click Next.
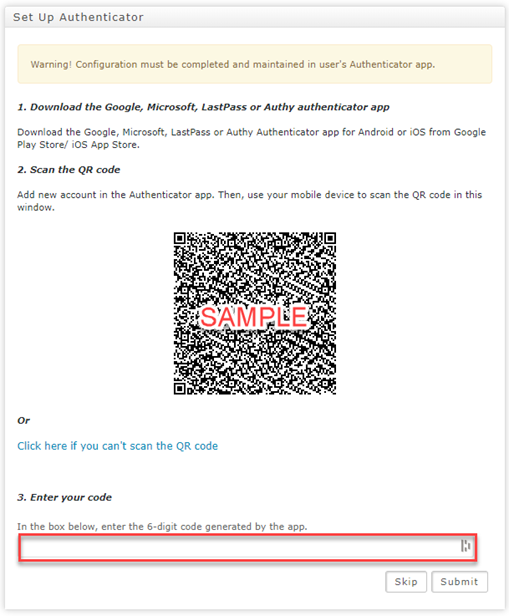
- During your first login you will be prompted to set up two-factor authentication (2FA) using Google Authenticator on your cell phone, and both Apple and Android are supported.
- Go to the Google Play or Apple App Store, search for “google authenticator” and install it.
- Open the Google Authenticator app, click the + icon in the top-right then tap Scan barcode – if prompted to allow use of camera, tap Allow.
- Point your phone’s camera at the QR code on the screen – once it’s recognized it will be added to the list as ITSupport247 along with a 6-digit numerical code.
- Enter the 6-digit code in the on-screen box and click Submit
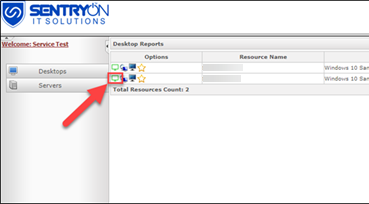
- Click on Desktops in the left column, then click the green computer icon beside the desktop you want to remotely access.
- The first time you connect using ConnectWise Control, a small file will be downloaded The ConnectWise Control Client (aka ScreenConnect) application will attempt to download, and the following will be shown. Check off the Always allow box and then click Open ScreenConnect Client.

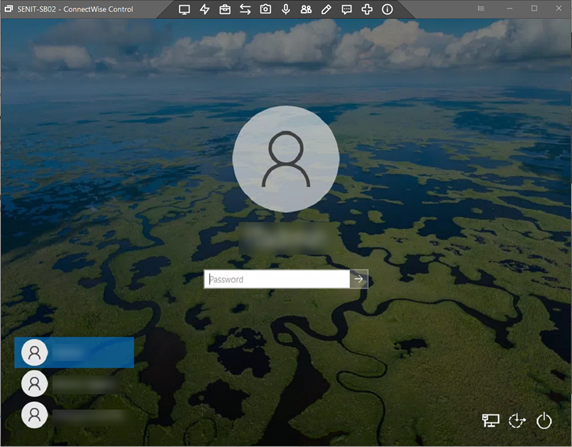
- Once the application installs, you will quickly be connected to your office desktop and should see your Windows login page (Windows 10 may require clicking on the lock screen first). Log in as though you were sitting in front of your office workstation.


%20250px.png)