Connect to Sentryon Cloud Desktop with Remote Desktop Client (Windows)
Note: If you are a Sentryon Managed IT plan client and need help connecting to your Sentryon Cloud Desktop, please feel free to contact our service desk.
- Download and install Microsoft Remote Desktop from the following URL:
https://learn.microsoft.com/en-us/azure/virtual-desktop/users/connect-windows
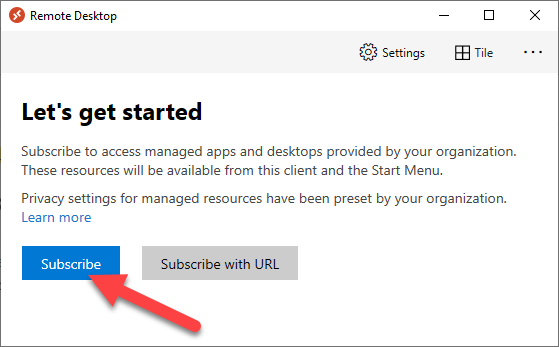
Note: This is not the same as the built-in Windows Remote Desktop Connection app. - Open the app and click the Subscribe button.

- When prompted, enter your Microsoft 365 email address and password. If your origanization uses 2FA/MFA for enhanced security, either approve the login request in the Microsoft Authenticator app on your mobile phone, or enter the 6-digit OTP code generated by your authenticator mobile app (e.g. Google Authenticator, Authy, etc.).

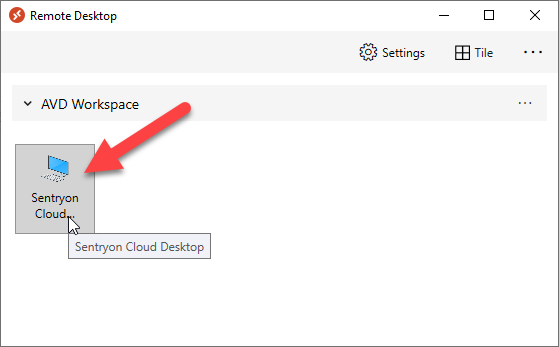
- Double click on Sentryon Cloud Desktop to connect.

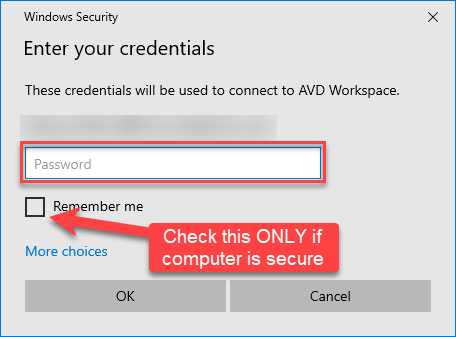
- At the prompt, enter your Microsoft 365 password.
Note: Only check the Remember Me box if you're connecting from a secure company computer.
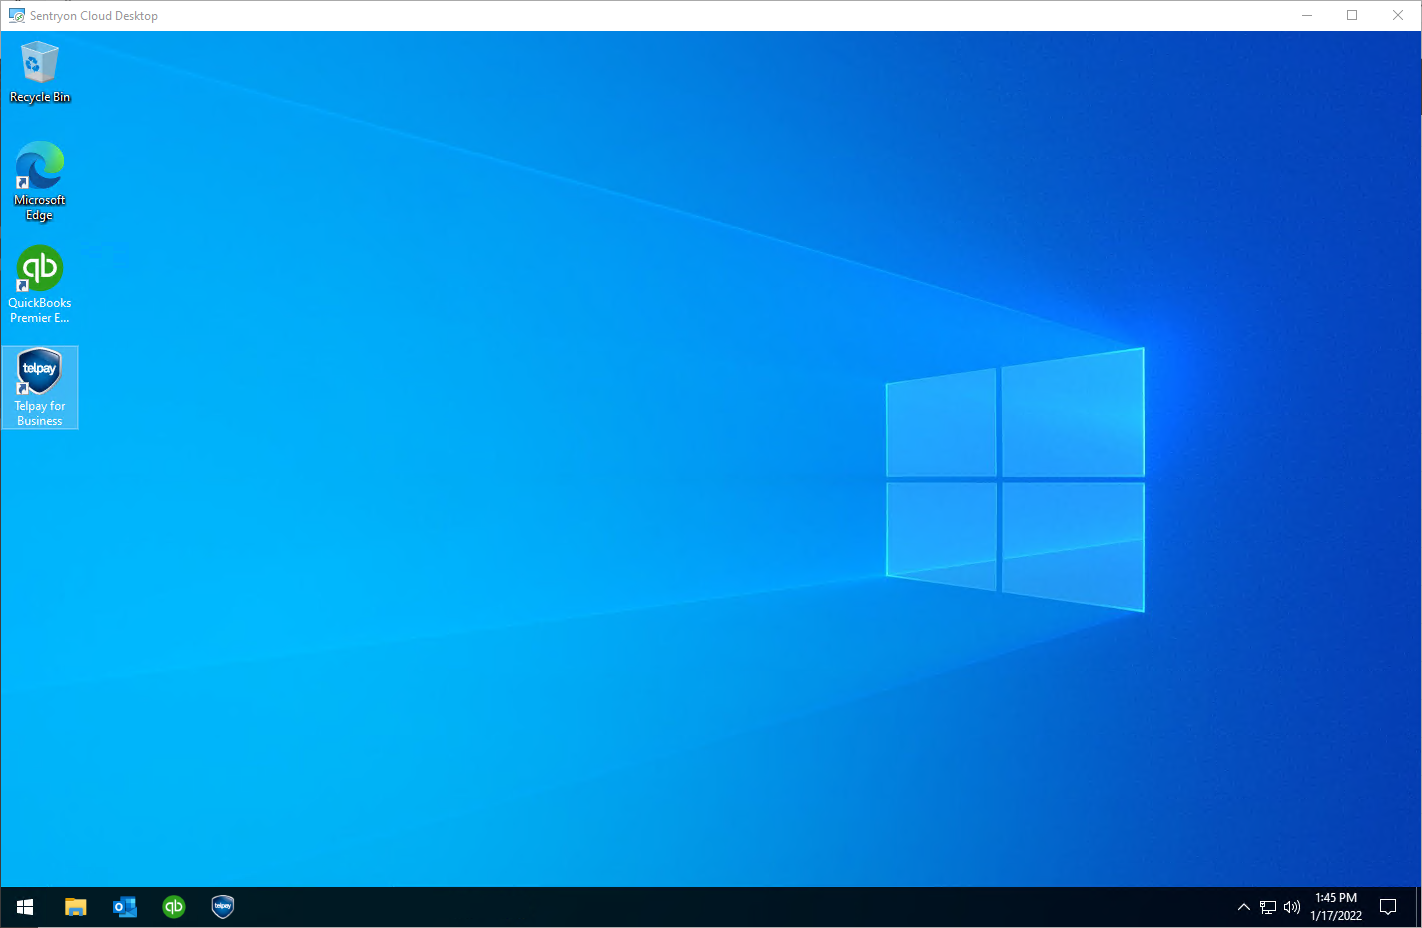
- You will now be connected to your Sentryon Cloud Desktop and logged in automatically.

Additional Resources:
- Display Settings: How to use Sentryon Cloud Desktop on a single monitor
- Remote Printing: How to print from Sentryon Cloud Desktop to your local printer
%20250px.png)